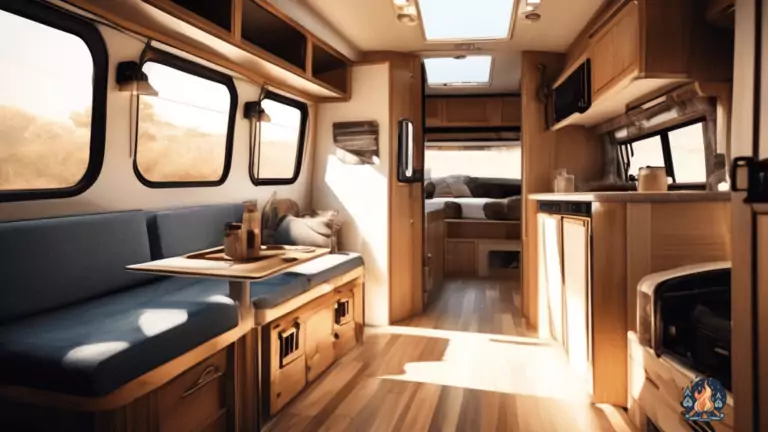
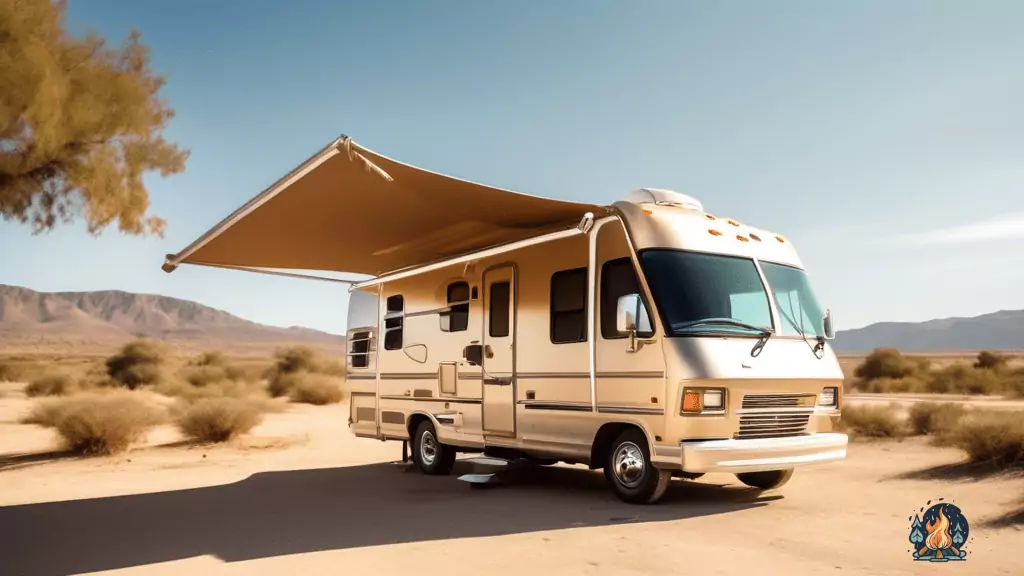
A Guide To RV Roof Maintenance
by Kevin Fairbanks • Updated: January 21, 2024
Learn how to properly maintain your RV roof with our comprehensive guide! Click now for expert tips and tricks on cleaning, repairs, and more. Don’t miss out on extending the life of your RV – start taking care of it today!
Are you the proud owner of an RV? Well, did you know that according to a recent survey, 75% of RV owners do not properly maintain their roofs? That’s right! Many RV owners are neglecting one of the most vital aspects of their beloved mobile homes.
But fear not, dear reader! In this engaging guide to RV roof maintenance, we will walk you through the necessary steps to keep your roof in tip-top shape.
Now, before we dive into the nitty-gritty details, let’s take a moment to appreciate the importance of a well-maintained RV roof. Think of it as the crown jewel of your home-on-wheels, protecting you from the elements and ensuring your adventures are rain-free.
Just like a superhero’s cape, your RV roof needs regular care and attention to keep it in prime condition. So, grab your favorite superhero cape and let’s embark on this exciting journey of RV roof maintenance together!
Key Takeaways
- Proper maintenance of the RV roof is crucial for protection and ensuring rain-free adventures.
- Inspecting the roof for damage regularly is an essential step in maintaining the RV roof.
- Cleaning and removing debris from the roof should be done regularly to prevent damage.
- Sealing and repairing any leaks promptly is important to prevent further damage to the RV roof.
Inspecting for Damage
Now that we know the importance of regular roof maintenance, let’s take a closer look at inspecting for any potential damage. Don’t worry, it’s not as daunting as it sounds!
Grab a ladder and climb up onto your RV’s roof. Take a moment to enjoy the view from up here, just don’t forget why you’re here in the first place. Look out for any signs of wear and tear, like cracks, bubbles, or loose seams. These are like little red flags waving at you, saying, "Hey, fix me before I become a bigger problem!"
Next, bring out your detective skills and look for any signs of water damage. Water is like a sneaky ninja that can infiltrate your roof and wreak havoc without you even knowing it. Check for any discoloration, soft spots, or funky smells. If you notice anything suspicious, you better believe that water has been up to no good. And we all know what happens when water misbehaves—it can lead to leaks, mold, and a whole lot of headaches. So, nip it in the bud and fix any water damage ASAP.
Remember, inspecting your RV’s roof is no joke. It’s like giving your roof a check-up to catch any potential issues before they turn into full-blown disasters. So, put on your inspection hat, channel your inner Sherlock Holmes, and get up on that roof. Your RV will thank you for it!
Cleaning and Removing Debris
Clearing clutter from your RV’s roof is crucial for proper care and prevention of potential problems. Not only does it keep your roof looking tidy, but it also helps to prevent debris from causing damage or blocking drainage channels.
Here are four simple steps to help you effectively clean and remove debris from your RV’s roof:
- Sweep it off: Grab a broom or a long-handled brush and gently sweep away any loose leaves, branches, or other debris that may have accumulated on your roof. This will help to prevent any potential damage that could be caused by sharp objects or heavy items.
- Use a pressure washer: If your roof is especially dirty or has stubborn stains, you can use a pressure washer to give it a thorough cleaning. Be sure to use a low-pressure setting and stand at a safe distance to avoid damaging the roof or any seals. And remember, aim for the debris, not your neighbor’s lawn gnome.
- Check the gutters: While you’re up there, take a moment to inspect and clean out the gutters and downspouts. Leaves and other debris can easily clog these channels, causing water to overflow and potentially damage your RV’s roof. Remember, a clean gutter is a happy gutter.
- Finish with a rinse: After you’ve removed all the debris, give your roof a final rinse with clean water to remove any remaining dirt or cleaning solutions. This will leave your roof looking shiny and clean, ready for your next adventure. And hey, if you want to make it a bit more exciting, you can even pretend you’re a firefighter and shout "splashdown!" as you spray the water.
By following these simple steps, you can ensure that your RV’s roof remains in good condition and free from debris. So go ahead, grab your broom and get to work. Your roof will thank you, and who knows, maybe you’ll have a few laughs along the way. Happy cleaning!
Sealing and Repairing Leaks
To effectively seal and repair leaks on your RV roof, it’s essential to prioritize regular inspections and promptly address any areas of concern.
Think of it like going to the doctor for a check-up, except instead of poking and prodding your body, you’re poking and prodding your RV. It’s a much less invasive procedure, I promise.
So grab your ladder, put on your detective hat, and get ready to solve the mystery of the leaky roof.
Once you’re up on the roof, channel your inner Sherlock Holmes and start looking for any signs of trouble. Are there any cracks or gaps in the caulking around vents and skylights? Is there any missing or damaged sealant around the edges of the roof?
These are the clues that will lead you to the source of the leak. And just like Sherlock, you’ll need to act quickly to prevent further damage.
Grab your trusty tube of caulk and start sealing up those gaps. It’s like playing a game of connect the dots, but instead of creating a masterpiece, you’re creating a watertight barrier. And trust me, that’s a masterpiece in its own right.
So don’t let those leaks rain on your parade, get up on that roof and seal them up like a boss. Your RV will thank you, and you’ll get to enjoy a dry and worry-free camping experience.
Maintaining the Roof Coating
Climbing up to the roof and giving it some TLC is absolutely necessary to keep that protective coating in top-notch condition. I mean, come on, your RV deserves the same love and attention you give to your furry little friend. Plus, you don’t want any water sneaking its way in and ruining your next road trip, do you?
Now, let’s talk about maintaining that roof coating. It’s like giving your RV a fresh coat of paint, but for the top part. You know, the part that protects you from all the elements. So, grab a brush and get ready to show that roof some love.
First things first, you’ll want to clean the roof thoroughly. Get rid of any dirt, leaves, or bird droppings that have made themselves at home up there. Just imagine the look on their tiny bird faces as you scrub away their cozy little nests. Sorry, guys, but this roof is for you-know-who only.
Once the roof is nice and clean, it’s time to apply a fresh coat of coating. Think of it as putting on sunscreen, but for your RV. You don’t want it getting all wrinkly and sunburned, do you? So, slap on that coating and make sure you cover every inch of that roof. Don’t worry, it’s not as hard as it sounds. Just think of it as a fun painting project, but with a really big canvas.
So, there you have it, folks. Maintaining that roof coating is as important as making sure your RV has enough gas to keep on rolling. So, get up there and give it some love. Your RV will thank you, and you’ll have peace of mind knowing that you’re protecting your home on wheels in style.
Preventive Measures for Longevity
Regularly inspecting and maintaining your RV’s roof will help ensure its longevity and prevent costly repairs down the road. Taking preventive measures can save you time, money, and the headache of dealing with unexpected roof issues. Here are some tips to keep your RV roof in top shape:
First, make sure to clean your roof regularly to prevent dirt, debris, and mold from accumulating. Use a mild detergent and a soft brush to gently scrub the roof surface. Avoid using harsh chemicals or abrasive materials that can damage the roof coating.
Next, inspect your roof for any signs of damage or wear. Look for cracks, tears, or loose seams in the roof membrane. Check the caulking around vents, skylights, and other roof fixtures for any signs of deterioration. It’s also important to check the condition of the roof coating. A worn or damaged coating can lead to leaks and water damage.
To help you visualize the importance of preventive measures, here’s a handy table:
| Preventive Measure | Benefits |
|---|---|
| Regular cleaning | – Removes dirt and debris- Prevents mold growth- Preserves roof coating |
| Inspection | – Identifies damage or wear early- Prevents further damage- Saves on repair costs |
| Proper caulking | – Prevents leaks- Protects roof fixtures- Extends roof’s lifespan |
Remember, taking these preventive measures will not only extend the life of your RV roof but also give you peace of mind during your travels. So, grab that brush, put on a smile, and show your roof some love!
Frequently Asked Questions
Can I walk on my RV roof to inspect for damage?
Sure, you can definitely take a leisurely stroll on your RV roof to inspect for any pesky damage. Just make sure to use caution and balance, because gravity doesn’t always have your back!
What type of cleaning solution should I use to remove stubborn debris from my RV roof?
To tackle stubborn debris on your RV roof, grab a bucket and mix a solution of warm water and mild dish soap. Gently scrub away the grime, but remember, no high-pressure washers or abrasive cleaners!
How often should I reseal and repair leaks on my RV roof?
You’ll want to keep an eye out for leaks and reseal them as soon as possible. Don’t let those sneaky leaks ruin your RV adventures! Remember, prevention is key, so stay on top of it and enjoy leak-free travels!
Can I apply a new roof coating over an existing one?
Sure, you can totally apply a new roof coating over an existing one! It’s like putting makeup on makeup, because who doesn’t love layers upon layers of goodness? Your roof will be the envy of all the other RVs!
Are there any specific measures I can take to protect my RV roof during extreme weather conditions?
To protect your precious RV roof from extreme weather, you can take some specific measures. First, find a cozy RV garage for your ride. Second, get yourself a weatherproof cover. Third, pray to the weather gods for mercy!

Hi, I’m Kevin, a lifelong camping enthusiast and the voice behind Campfire Discoveries. From tent to RV to cabin camping, I’ve explored it all. Join me as we share stories and tips around the campfire, deepening our connection with the great outdoors.
Keep Reading
-
Common Issues With RV Generators And How To Troubleshoot
Don’t let RV generator issues ruin your camping adventures! Learn how to troubleshoot common problems like a pro and keep the power flowing. Read now for expert RV generator troubleshooting tips!
-
Complete Campfire Cooking Tools Set For Outdoor Cooking
Elevate your outdoor cooking game with our complete campfire cooking tools set! Discover essential tools to make your culinary adventures unforgettable. Upgrade your camping experience today!
-
Exploring Different Camping Coffee Brewing Methods In Your RV
Unlock the secret to gourmet camping coffee with these RV-friendly brewing methods! Say goodbye to bland brews and click here for a taste of outdoor java perfection.